


前言
本文将介绍如何搭建基于Typecho的个人网站,以及分享一些遇到问题的解决方案。
Why Typecho
Typecho是一个由国人开发的轻量级CMS,和WordPress一样,可以快速建立个人博客网站。So Why Typecho? WordPress有无数的优点,但是选择Typecho的理由只需一个:简单,简洁,轻量级。 Typecho几乎是专门为个人博客打造的,全部代码不足400KB,也不像WordPress一样对主机性能有一定的要求。界面和控制台都是极简风,非常清爽,很容易上手。对MarkDown支持非常友好,不需要额外的插件。 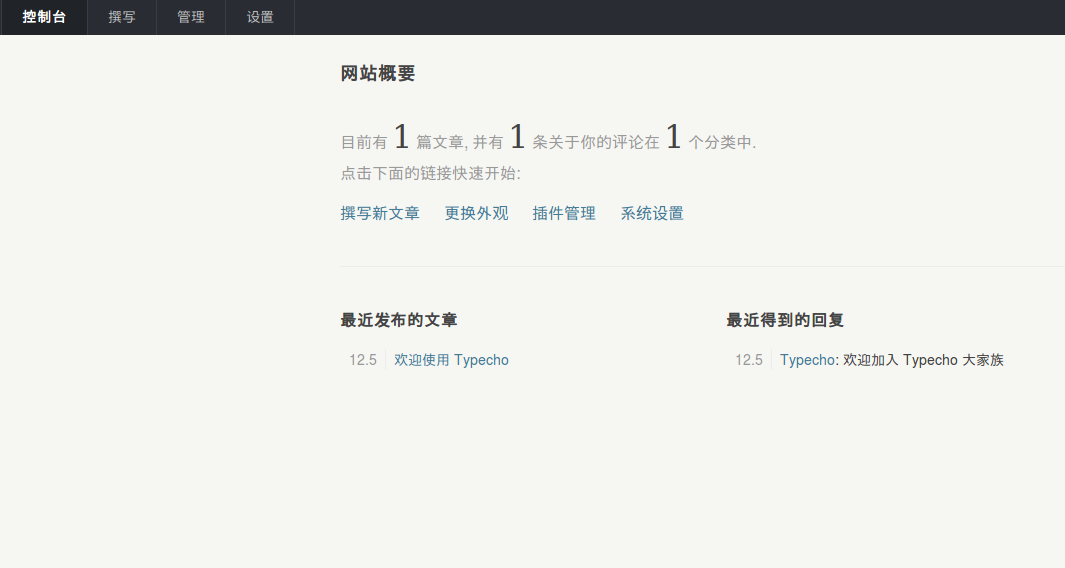
环境
Typecho的推荐环境是LNMP(Linux, Nginx, MySQL, PHP),跟WordPress非常相似,可以共用。 因为本人之前写过在Ubuntu上搭建WordPress环境的步骤,为避免重复造轮,Linux,MySQL,PHP7的部分可以参考这里。
Nginx
安装Nginx
sudo apt-get install nginx
验证Nginx
systemctl status nginx
会得到如下输出
● nginx.service - A high performance web server and a reverse proxy server Loaded: loaded (/lib/systemd/system/nginx.service; enabled; vendor preset: enabled) Active: active (running) since Thu 2019-12-05 10:19:16 CST; 4h 29min ago Process: 80264 ExecStop=/sbin/start-stop-daemon --quiet --stop --retry QUIT/5 --pidfile /run/nginx.pid (code=exited, status=0/SUCCESS) Process: 80384 ExecStart=/usr/sbin/nginx -g daemon on; master_process on; (code=exited, status=0/SUCCESS) Process: 80380 ExecStartPre=/usr/sbin/nginx -t -q -g daemon on; master_process on; (code=exited, status=0/SUCCESS)
启动Nginx
sudo systemctl start nginx
修改Nginx配置
Nginx默认安装在 /etc/nginx/目录下,在此目录下找到默认的配置文件sites-enabled/default(不同的Nginx版本或者操作系统文件会有区别),把index.php加到index标签下,同时将PHP对应的location打开
index **index.php** index.html;

location ~ \.php$ {
    include snippets/fastcgi-php.conf;
    fastcgi_pass unix:/run/php/php7.0-fpm.sock;
}
要确保已经安装了php-fpm,否则Nginx无法正常给php做转发。如果还没有安装,运行如下命令安装
sudo apt install php-fpm php-mysql
安装Typecho
直接从官网下载最新的版本,解压到Nginx目录
cd /usr/share/nginx
sudo wget http://typecho.org/downloads/1.1-17.10.30-release.tar.gz
tar -zxvf 1.1-17.10.30-release.tar.gz
cp ./build/* ./html/
不要忘了修改一下Nginx发布目录的权限
cd /usr/share/nginx/html
chmod -R 755 *
chown {owner}/{group} *
如果是Ubuntu,owner和group都是www-data,如果是CentOS则事nginx,可以通过以下命令查看用户
ps -ef | grep nginx
验证Typecho
现在浏览器打开 {ip}:80(nginx默认80端口),可以看到Typecho的欢迎页面 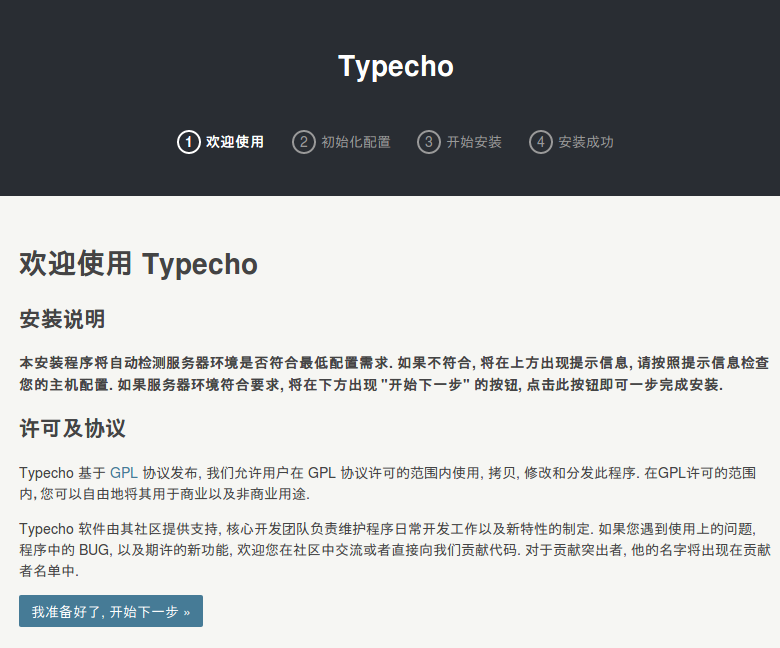
按照向导一步一步走下来,可以看到简洁清爽的博客界面 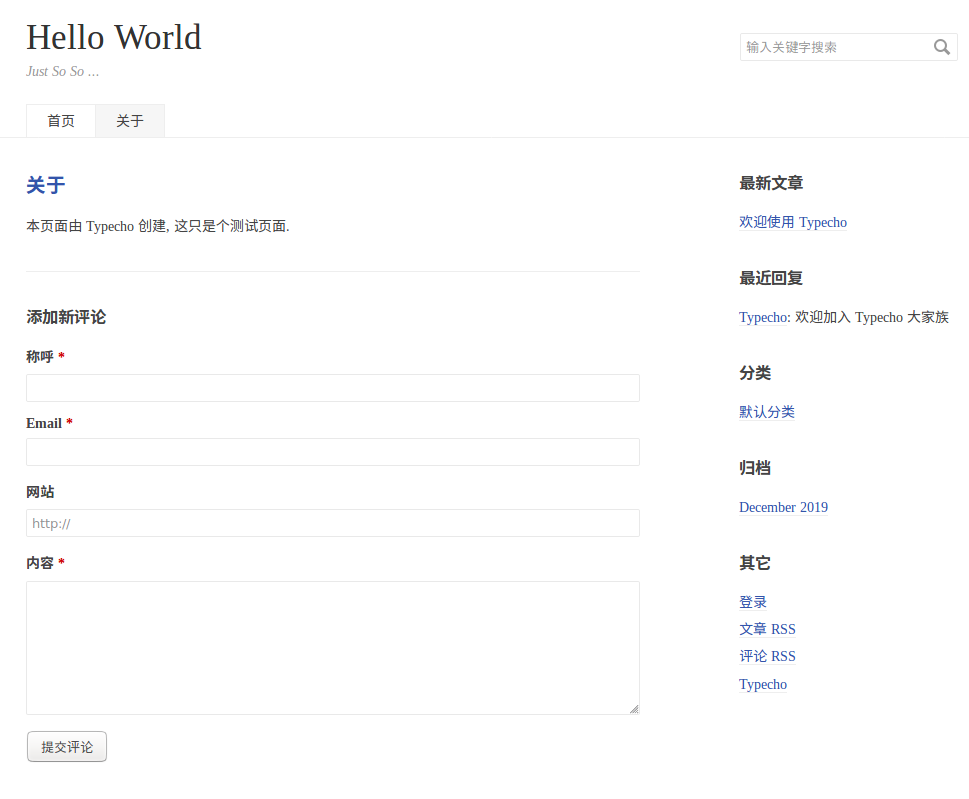
PHP7可能遇到的问题
502 bad gateway
如果打开页面报502 bad gateway,是因为xml解析不兼容造成的,安装php7.0-xml即可解决:
- Ubuntu
sudo apt-get install php7.0-xml
- CentOS
yum install php7.0-xml
404 not found
如果打开任何Typecho子页面都报404 not found,需要在nginx的配置文件添加如下配置
location / {
    if (-f $request_filename/index.html){
        rewrite (.*) $1/index.html break;
    }
    if (-f $request_filename/index.php){
        rewrite (.*) $1/index.php;
    }
    if (!-f $request_filename){
        rewrite (.*) /index.php;
    }
}
在php的location下添加参数fastcgi_split_path_info ^(.+.php)(/.+)$;,参考如下
server {
	listen 80 default_server;
	listen [::]:80 default_server;

	root /usr/share/nginx/typecho;

	index index.php index.html;

	server_name localhost;

	location / {
		# First attempt to serve request as file, then
		# as directory, then fall back to displaying a 404.
		if (-f $request_filename/index.html){
			rewrite (.*) $1/index.html break;
		}
		if (-f $request_filename/index.php){
			rewrite (.*) $1/index.php;
		}
		if (!-f $request_filename){
			rewrite (.*) /index.php;
		}
		try_files $uri $uri/ =404;
	}

	# pass the PHP scripts to FastCGI server listening on 127.0.0.1:9000
	#
	location ~ \.php$ {
		include snippets/fastcgi-php.conf;
		fastcgi_split_path_info ^(.+\.php)(/.+)$;
		# With php7.0-cgi alone:
		# fastcgi_pass 127.0.0.1:9000;
		# With php7.0-fpm:
		fastcgi_pass unix:/run/php/php7.0-fpm.sock;
	}
}
从WordPress迁移到Typecho
Typecho有插件支持从WordPress转移文章,但是建议安装老版本的Typecho环境,而且对WordPress的版本有要求,至少博主在WordPress5和Typecho1.1下没有迁移成功。所以建议不要迁移哈哈哈。
总结
Typecho环境的搭建与WordPress非常相似,如果你是想要一个纯粹极简博文网站,并习惯MarkDown写文,那就感觉上手Typecho吧,你值得拥有。
叨叨几句... NOTHING